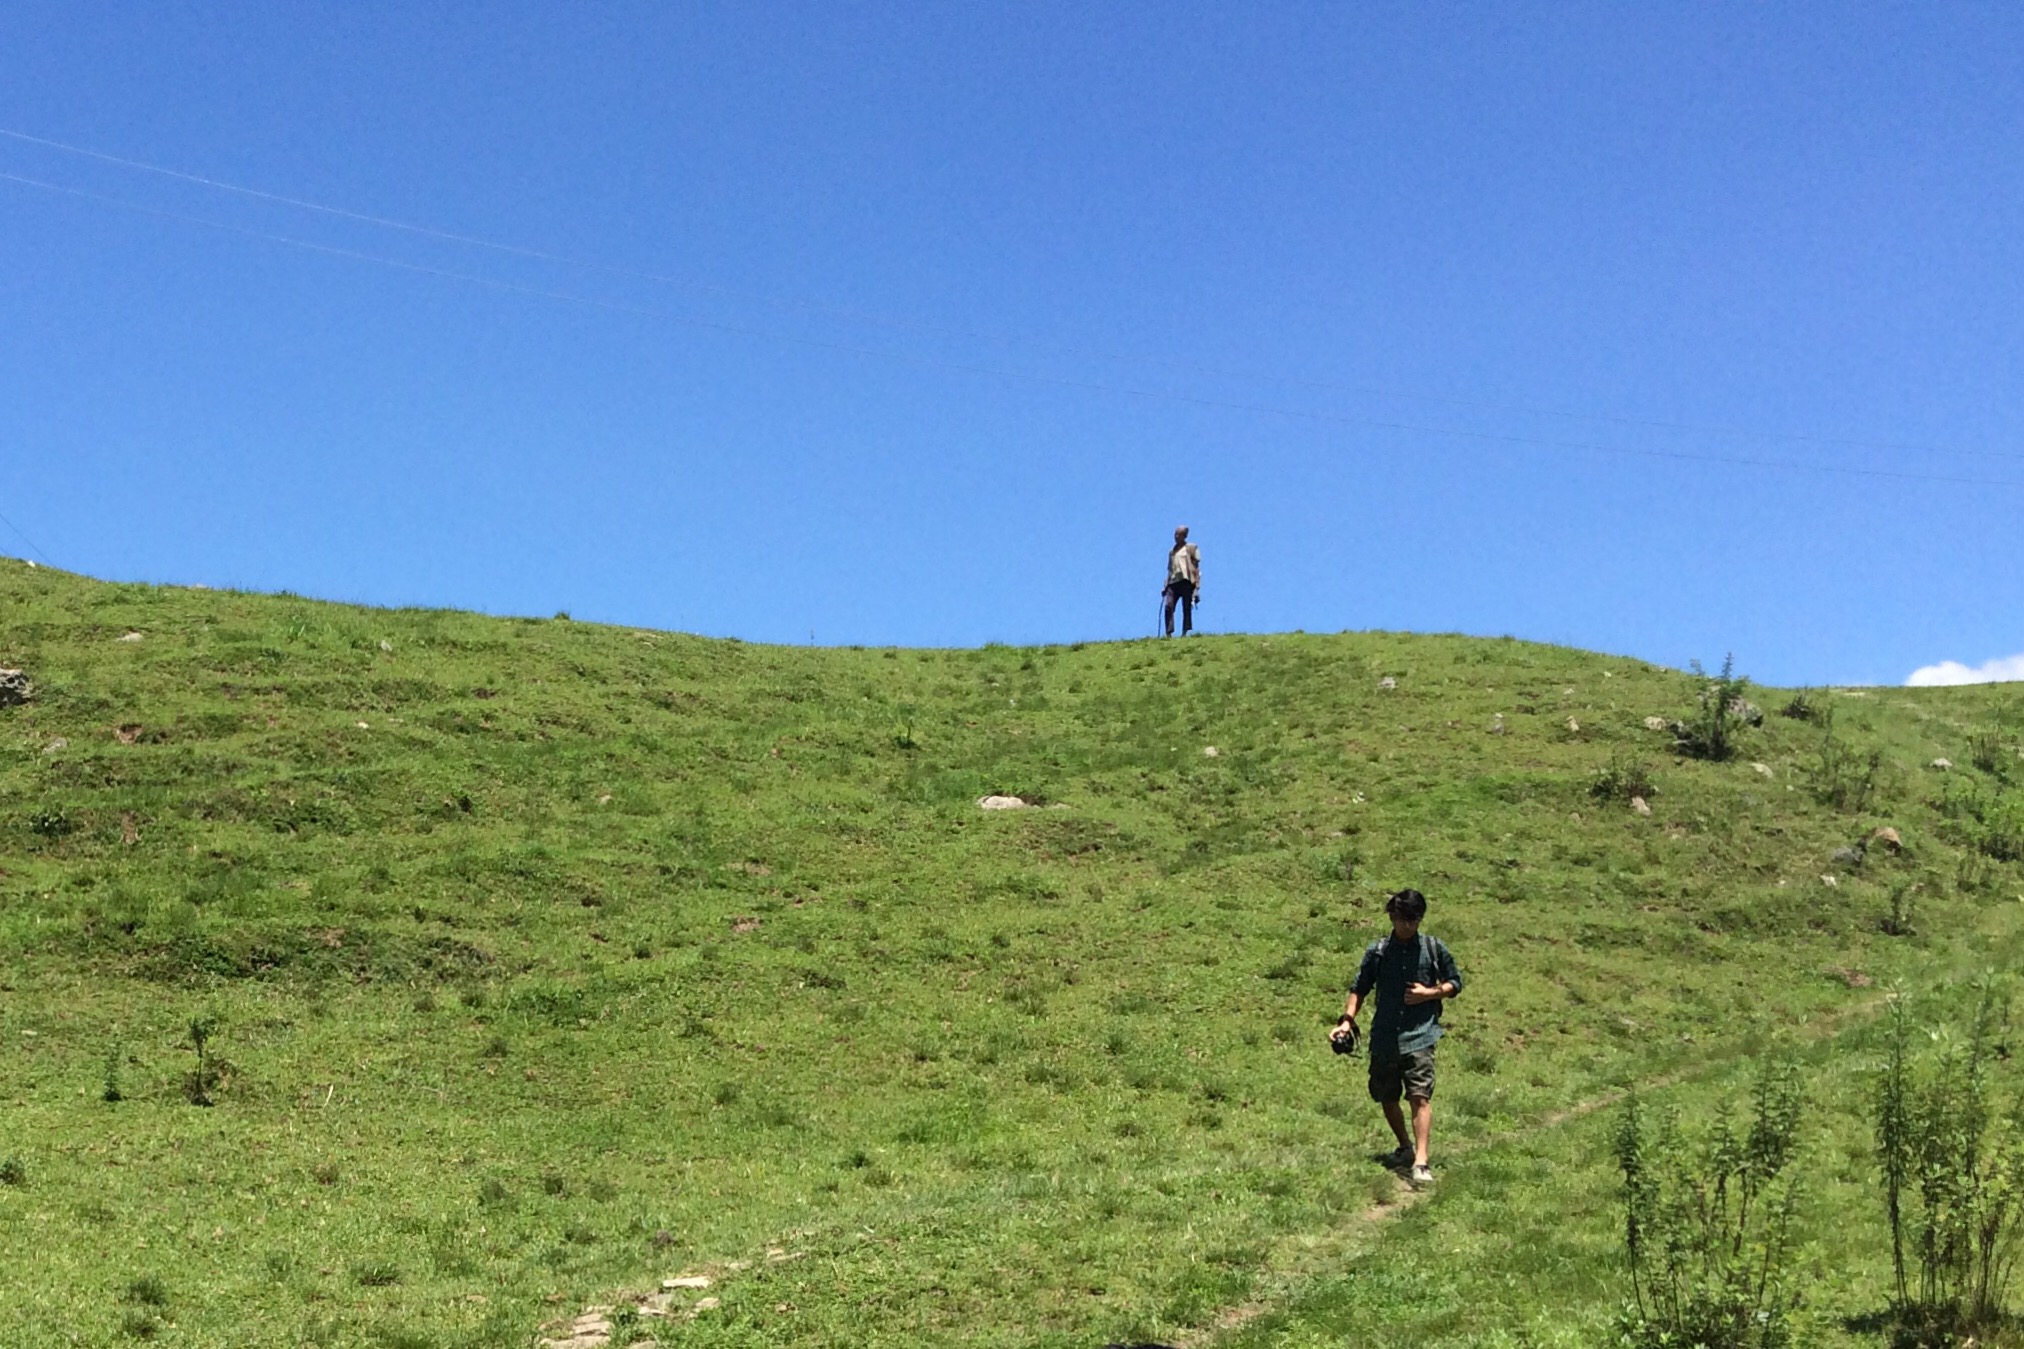
I was not sure what to post on the sixth day of my photo project. I was going through my photo feed on VSCO, and I saw an image I took in Khokana.
I took it some months ago while I was visiting the place with my friends.
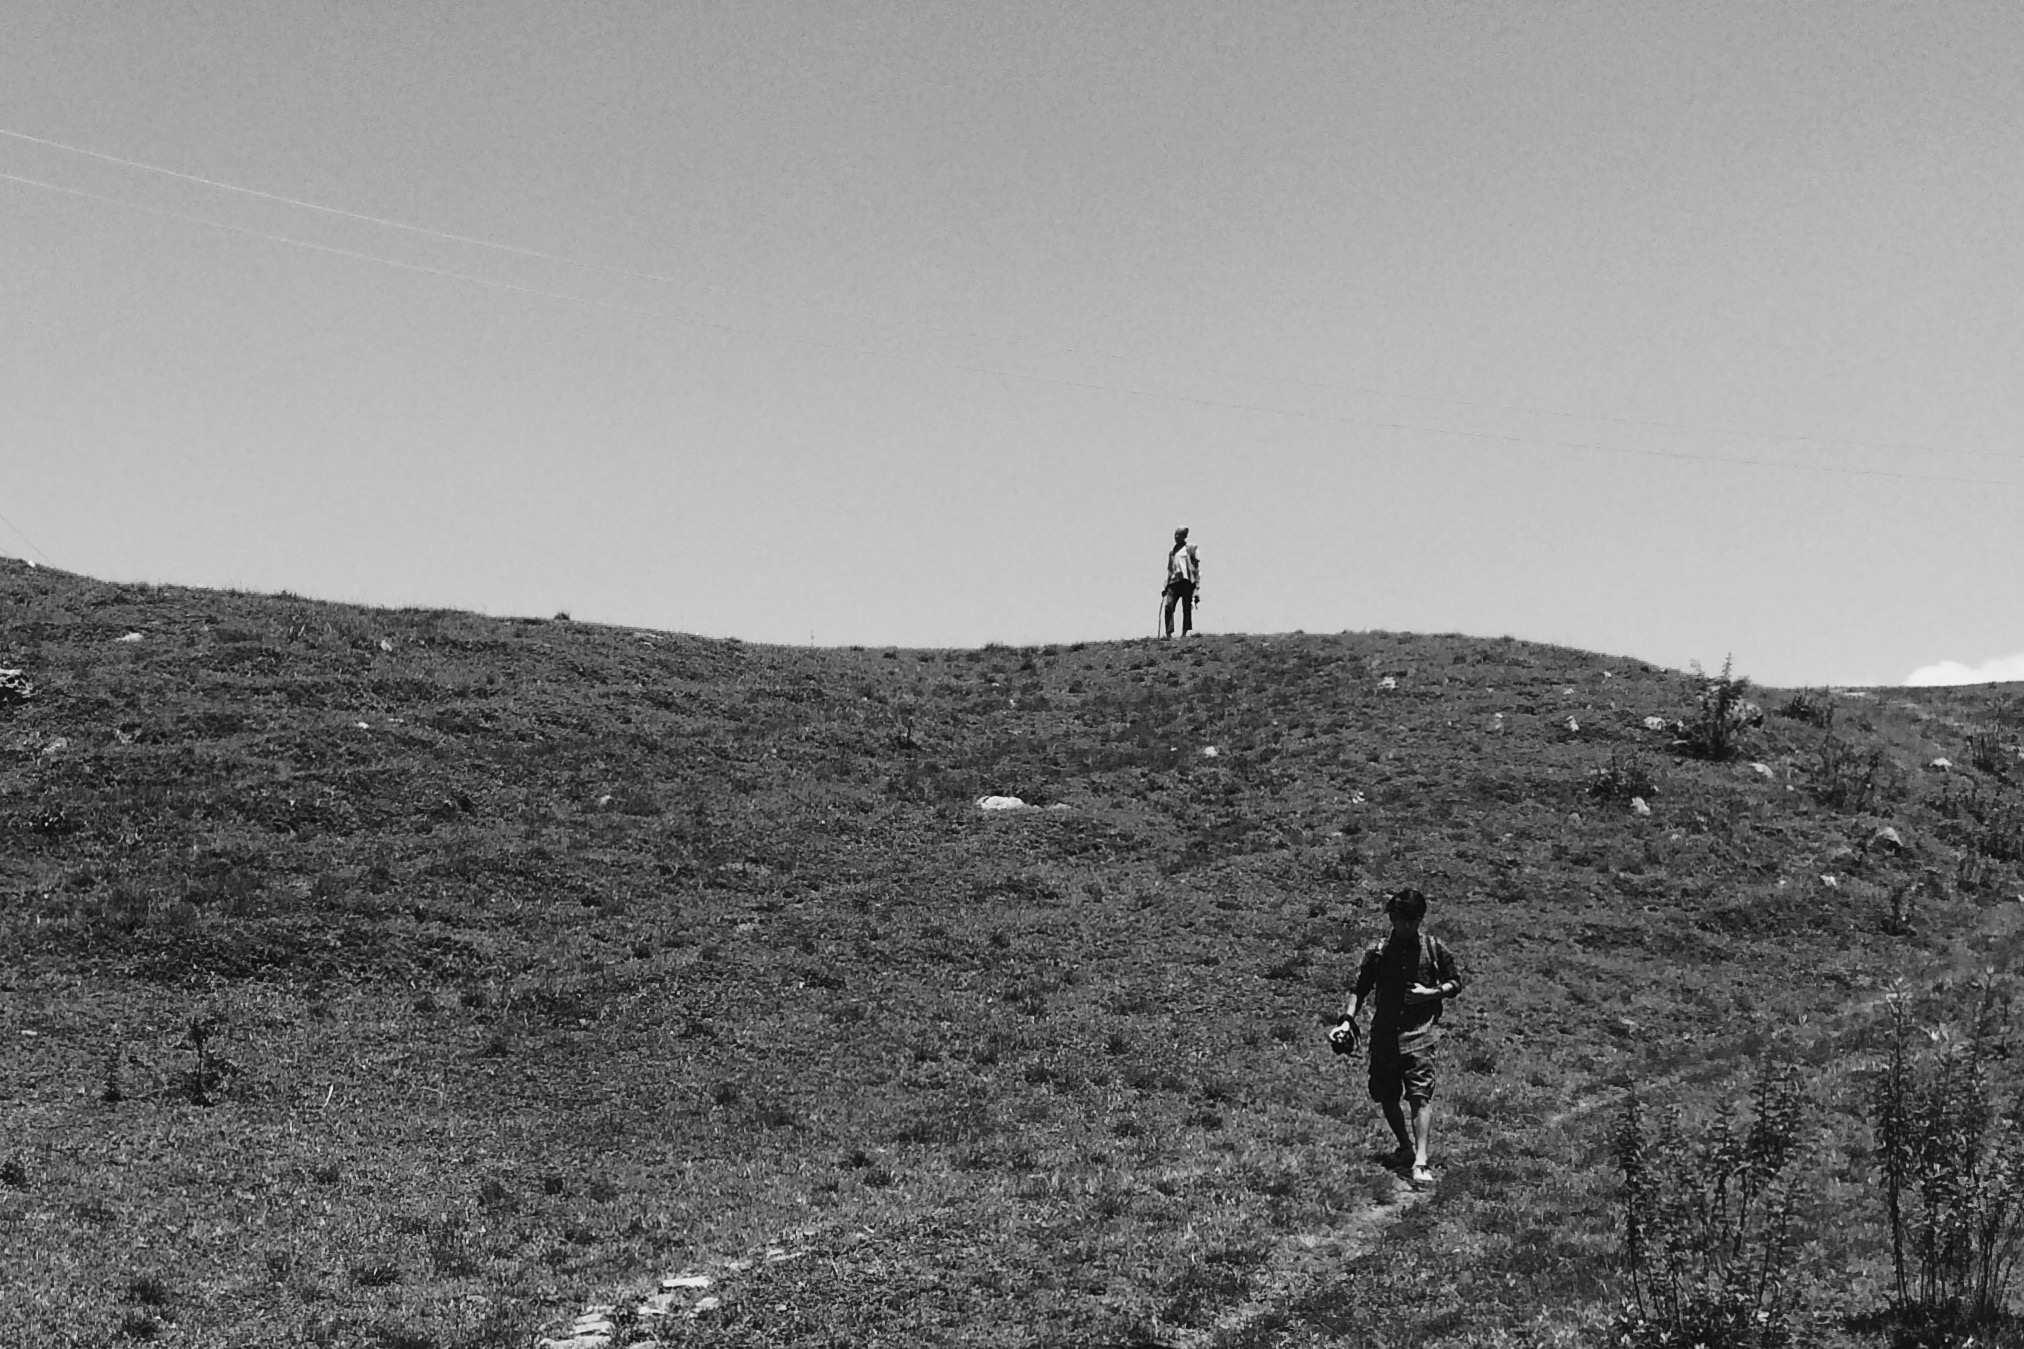
I was not sure how to edit, so I thought of converting it to black and white first through the VSCO app.
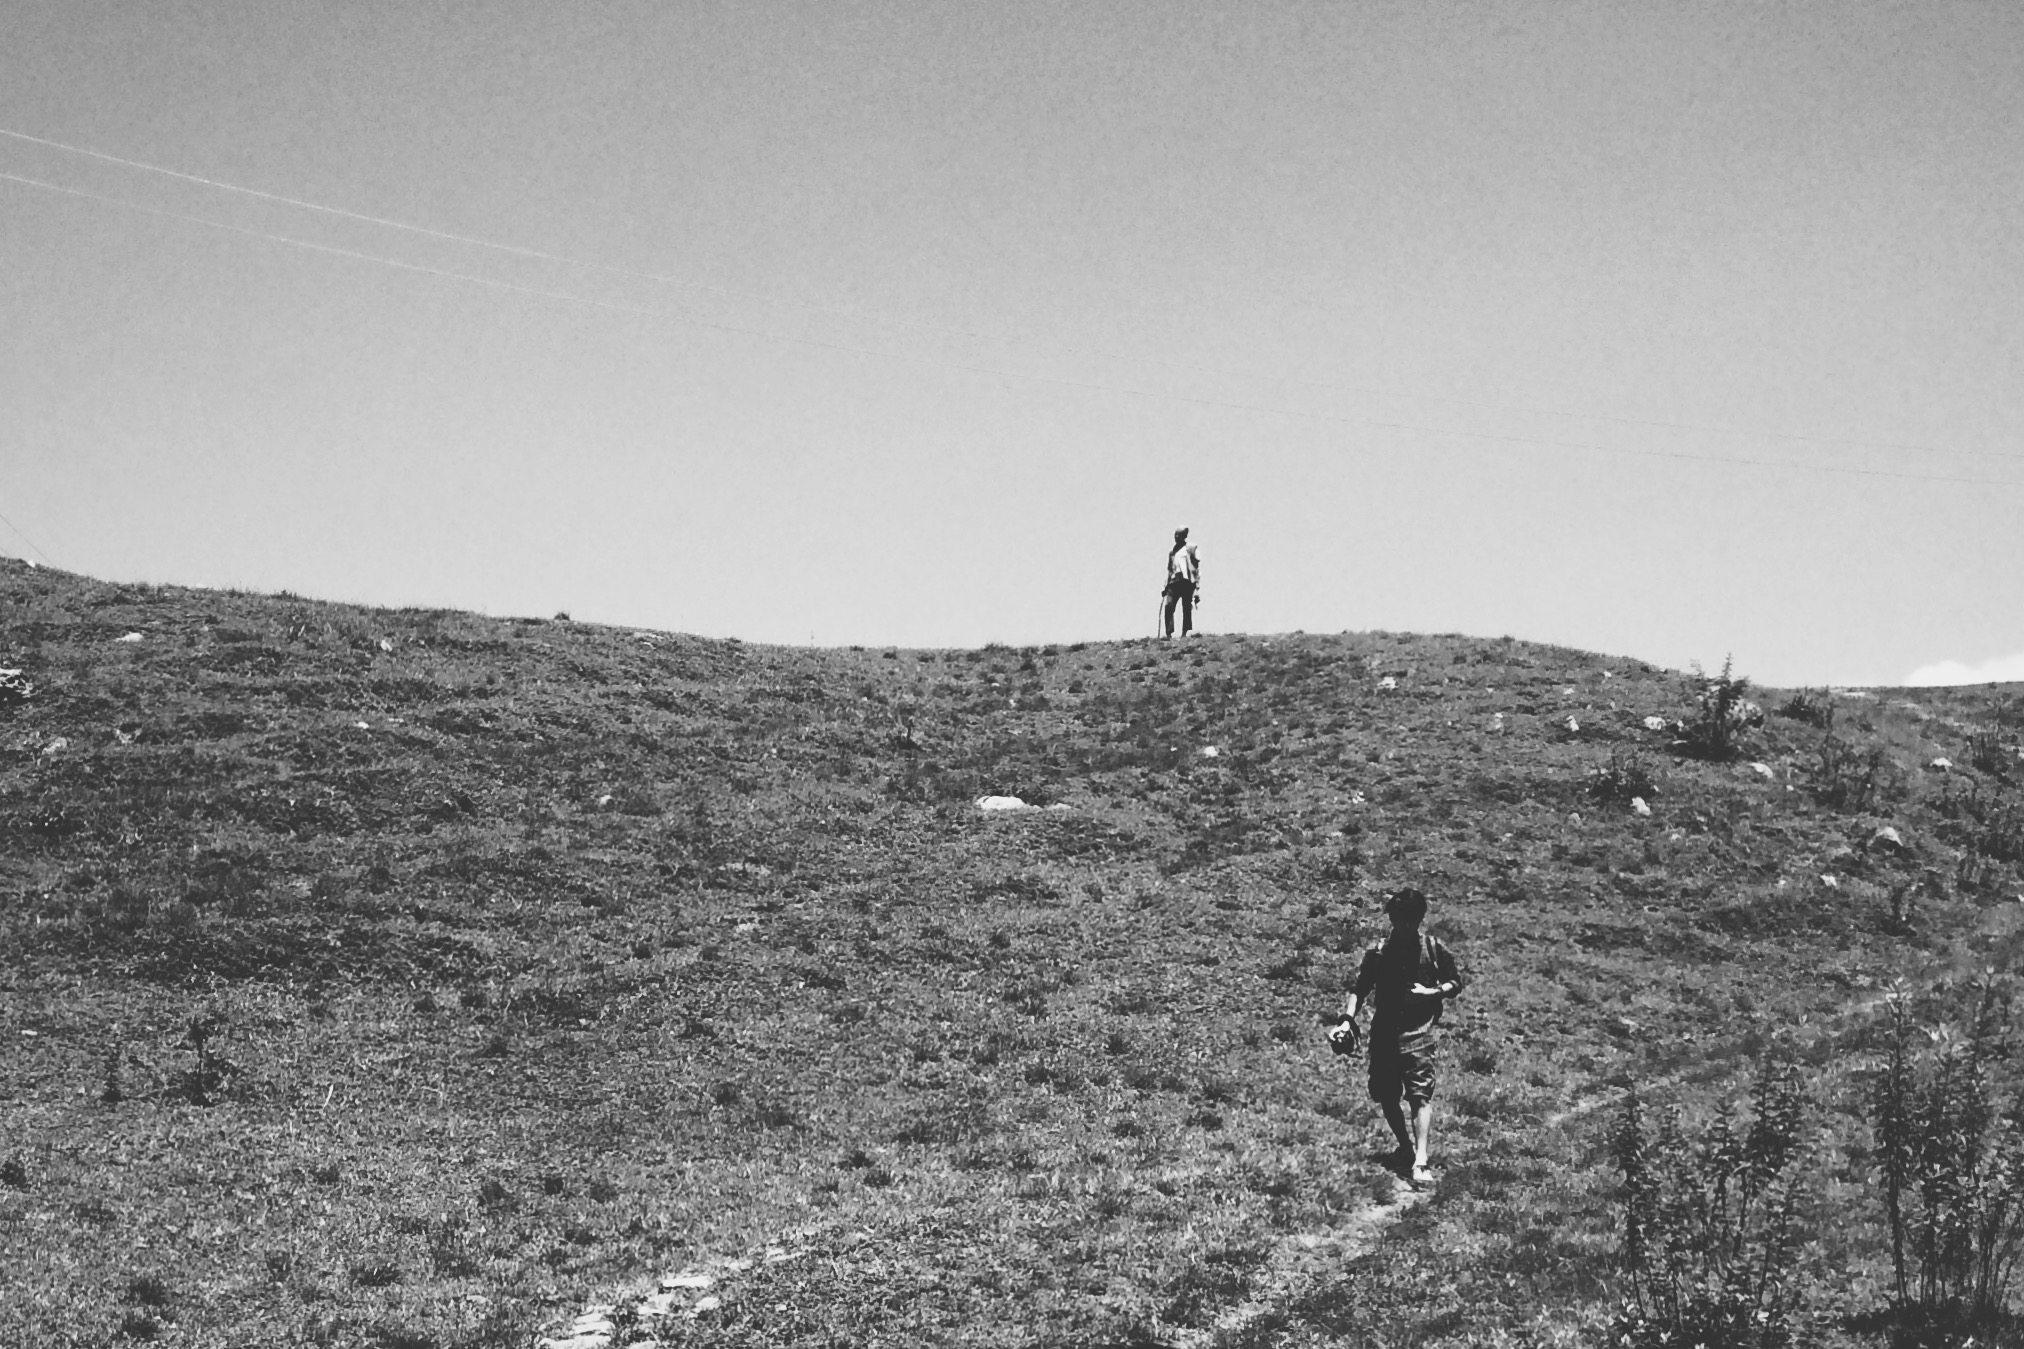
After that, I played with different tools to make it darker and more visually interesting.

Gave it some finishing touch in the end.
I was not satisfied with the image, I wanted to add something. So I went ahead to the tangent app and added a round shape in the original image.

I didn’t like the shape. Went ahead with another one.
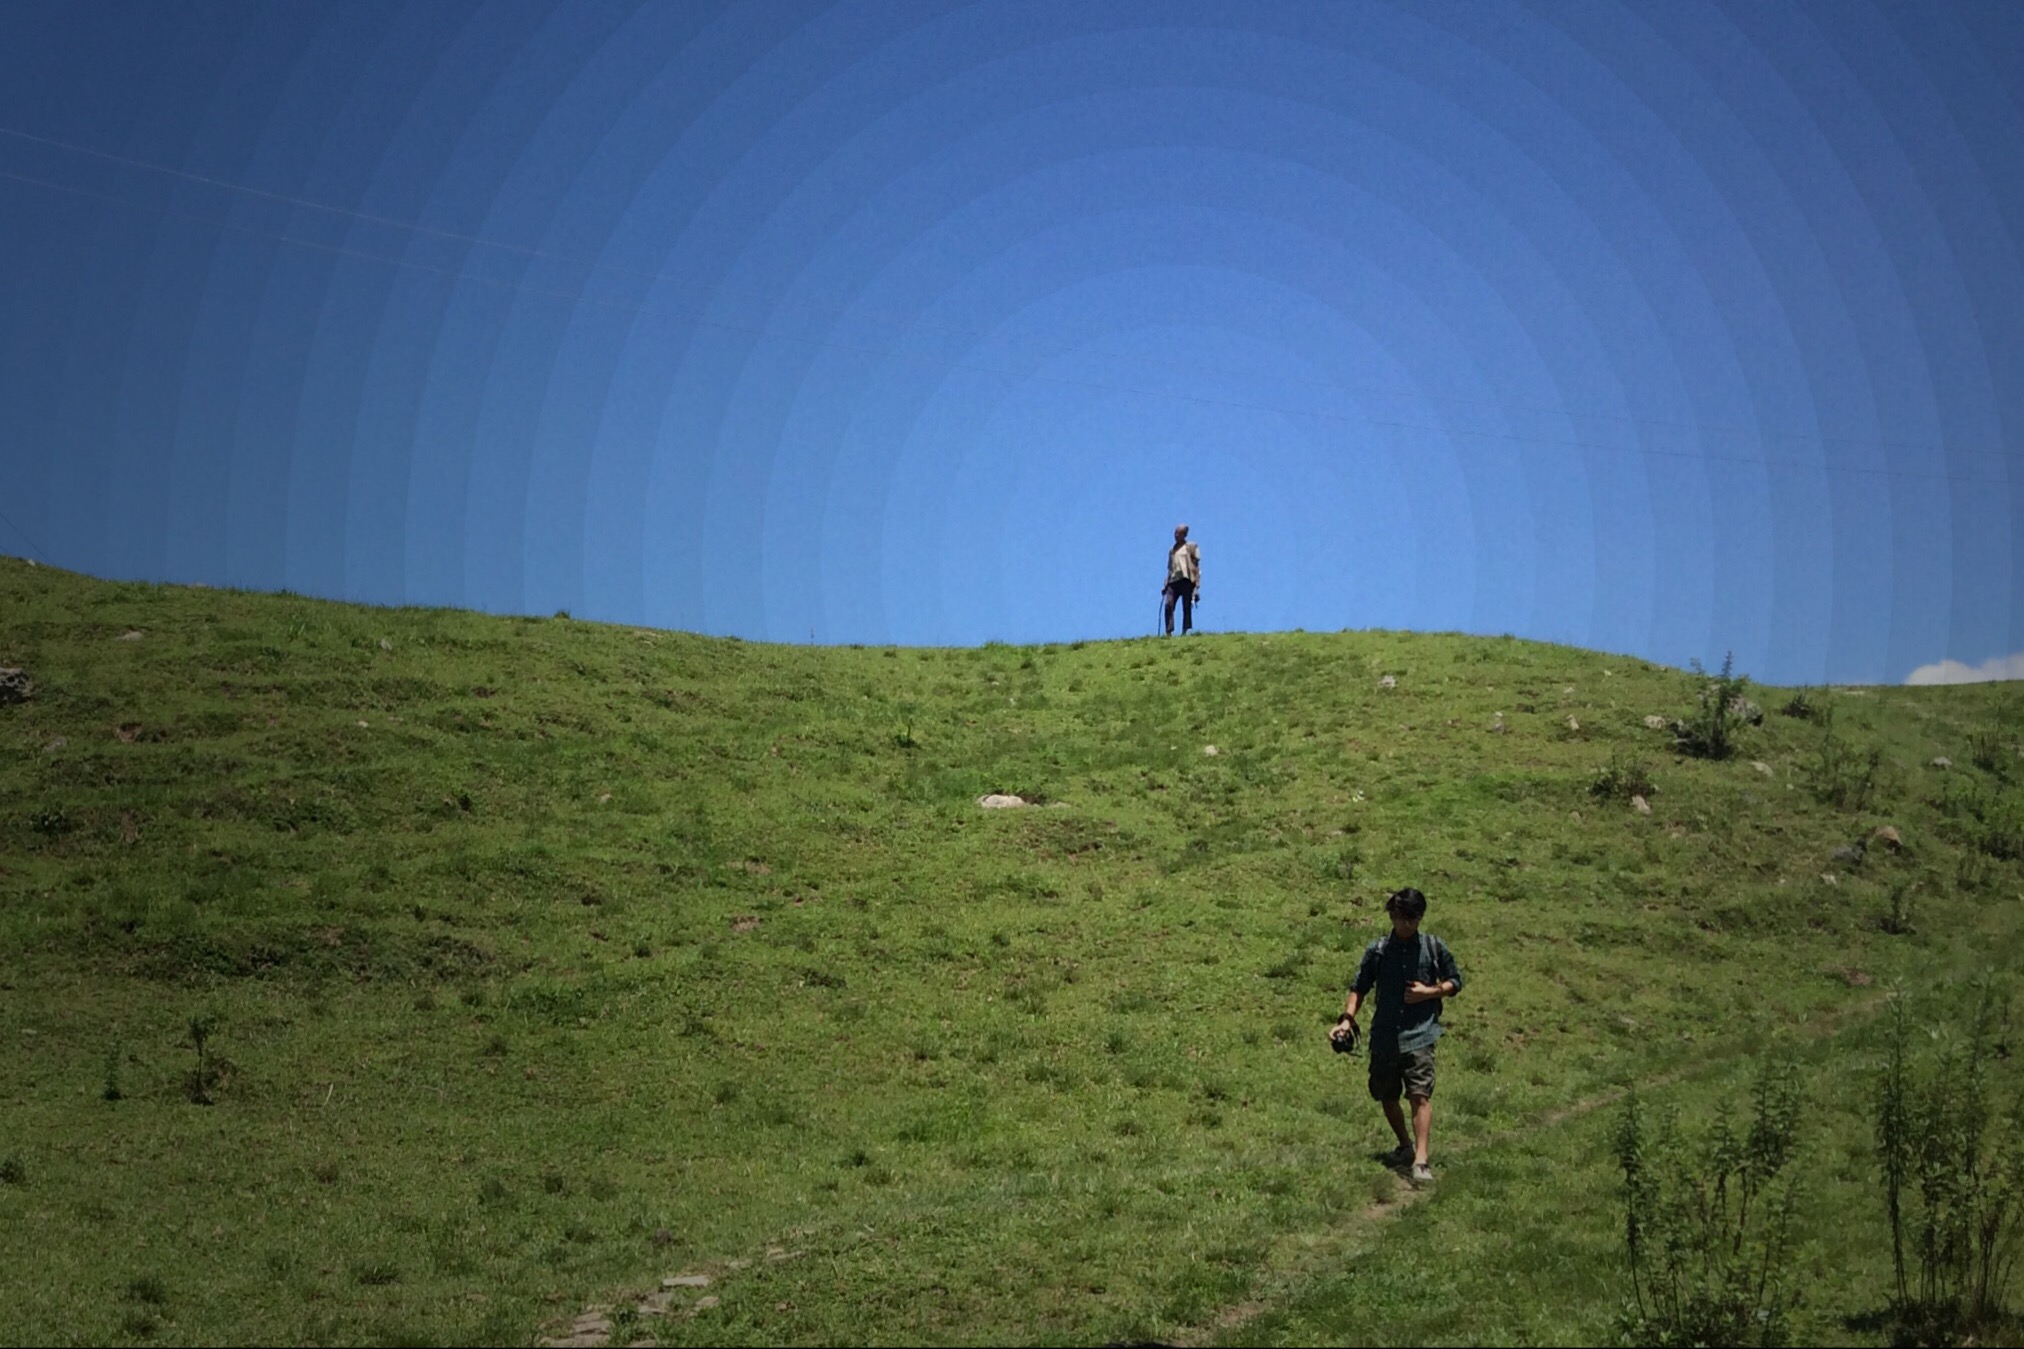
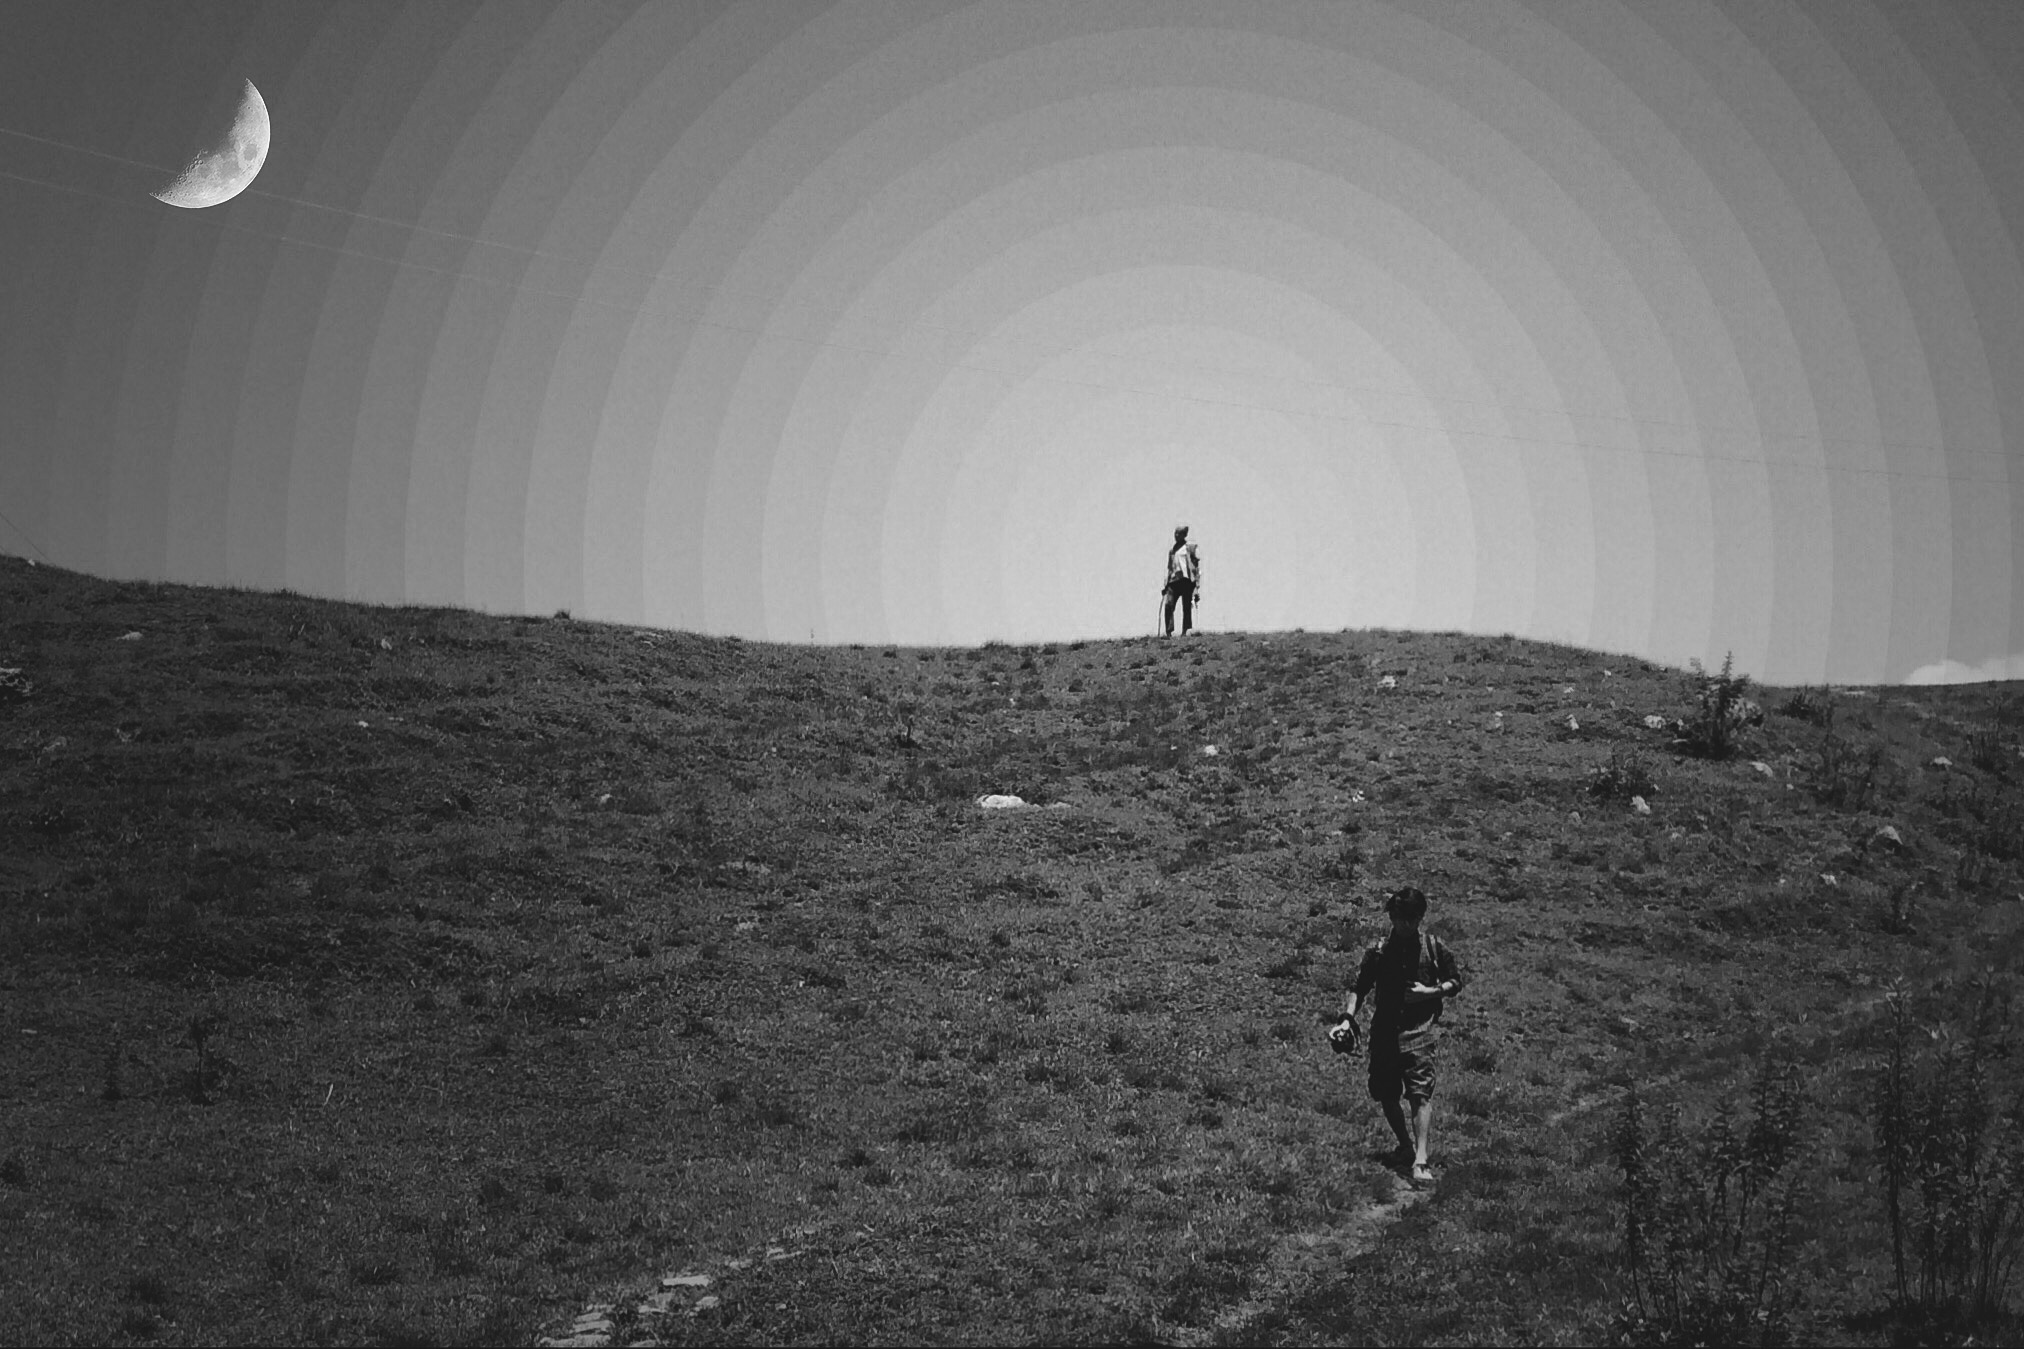
Loved this shape. The middle point was in the person standing in the middle of the ground. It made it look visually satisfying.
After that, all I needed to do was convert into black and white similar to the one that I did in the beginning and then add moon to the background. I was inspired to add props–moon–in the image by reading this interview of Jill Emmer.
Here’s the final image:
I hope you found this post helpful.
There’s only one thing that I regret. Not taking a screencast of all the process. I could have made a video walking through exactly what I did.
If you liked this image, I post them regularly on my Instagram. And also on my Facebook page and Facebook account.
Here’s the list of apps I used to edit this image: